After a week with little painting and no gaming things have turned around with two hoplite battles on successive days using Simon MacDowell's Alala! rules. Each battle was fought on the same terrain, using the same troops : each followed a very different course - except for my commanding generals.Both sides fielded six units of hoplites, one having a single unit of A class Spartans and five C class allies, the other having two units of B class Thebans with four C class allies. The table was set up to afford a level plain wide enough for up to seven hoplite units to line up side by side, with extensive areas of low hills and patches of woodland on either flank, allowing ample room for light troops and cavalry to manoeuvre. Both sides had two cavalry units. On the Spartan side these were both Hamippoi - light cavalry mingled with javelin men on foot, so moving more slowly than standard cavalry but having more hitting power, rather like cavalry with commanded shot in the Thirty Years War or English Civil War. The Thebans had one Hamippoi unit and one of Thessalian cavalry - harder hitting melee types. Both then had two units of peltasts - light infantry with missile and melee ability - while the Thebans had three further missile only units and the Spartans had four. The aim was to give balanced forces to each player while having a bit of variation that would provide interest.
The first game pitted me in command of the Spartans and their allies against Gareth with the Thebans. Each of us had two generals. Rolling for their command points had given each of us one with 4 points and the other with 3. Deployment of armies is shown in the picture below.
During deployment of the hoplite units, Gareth left a space between his two phalanxes, filling this later with some peltasts and slingers in front of his powerful Thessalian cavalry. This appeared to give me a significant advantage in light troops on both flanks. He placed his weaker general with the smaller, Theban phalanx, leaving the other with 4 command points to control the larger allied phalanx.
In the opening turns it was clear that both sides would be keeping their phalanxes in check, using command points to raise the vigour of their hoplites or pick up god cards while leaving their light troops to see what they could do.
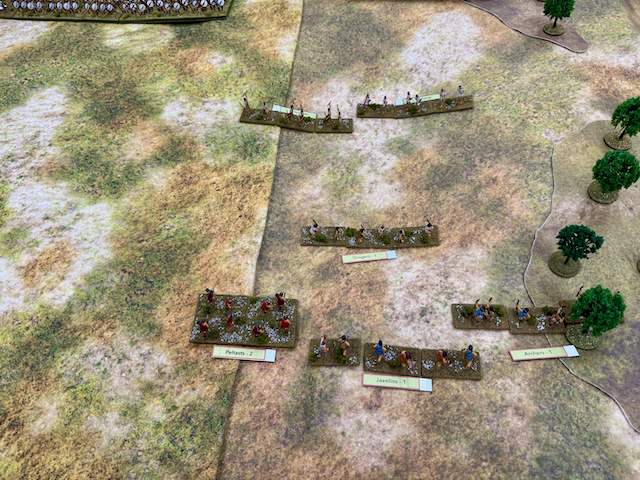 |
| On my right, a unit of peltasts and three assorted slingers, archers and javelin units surged forwards, the slingers rather getting ahead of their companions as a couple of enemy slingers and javelin men came out to meet them. |
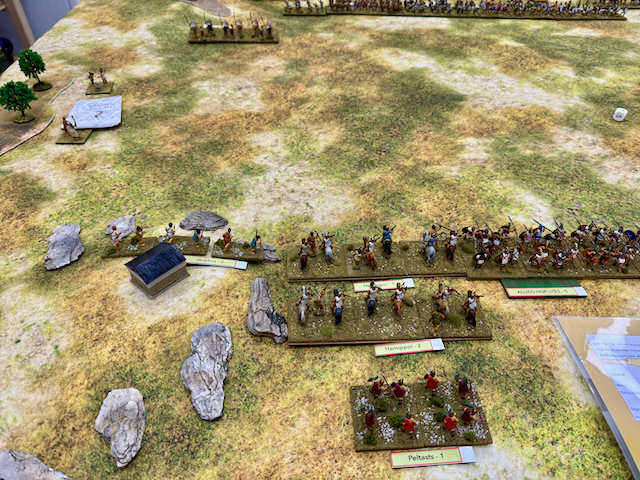 |
| On the left flank, Theban hamippoi edged forward while their peltasts hung back, as did both my hamippoi, my peltasts and javelin men. So much for a quick advance to start to threaten the flank of the enemy phalanx! There was some consolation as the Thebans failed to activate their Thessalian cavalry or the light troops in the centre with them. |
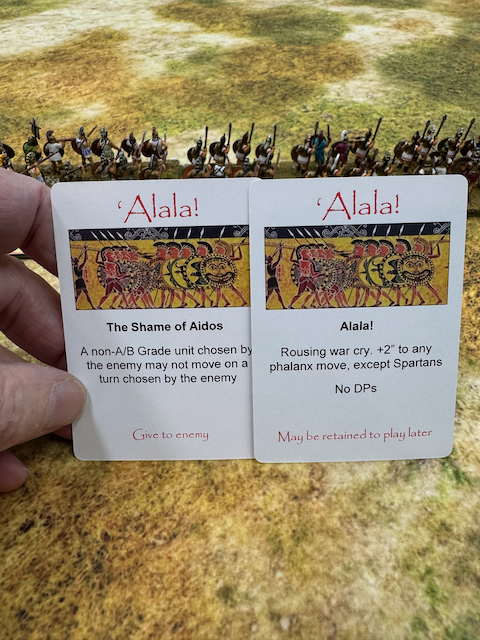 |
| I drew the 'Alala!' card, which would help my non-Spartan units advance when the time came, and was gifted the other card by my opponent. This would allow me to halt one enemy unit - except either of the Theban hoplites - for one turn. |
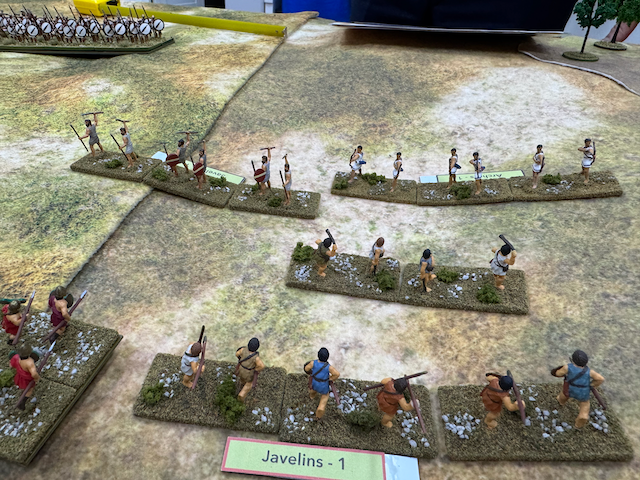 |
| My slingers continued to get ahead of their friends on the left and suffered for their temerity, losing a third of their number in the first exchange of fire while causing no harm to the enemy. |
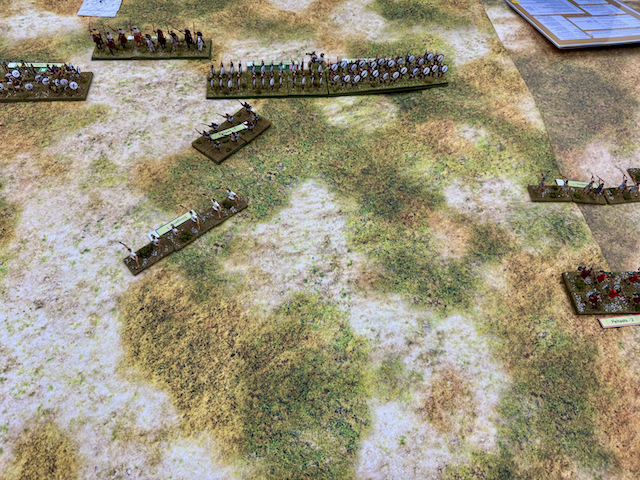 |
| Theban light troops from the centre start to move across to reinforce their right but the Thessalians still fail to move. |
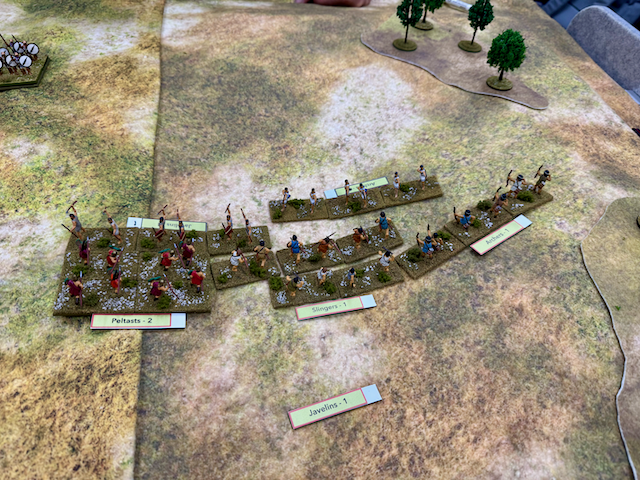 |
| My second line of skirmishers surge forward. They made short work of the outnumbered opposition. |
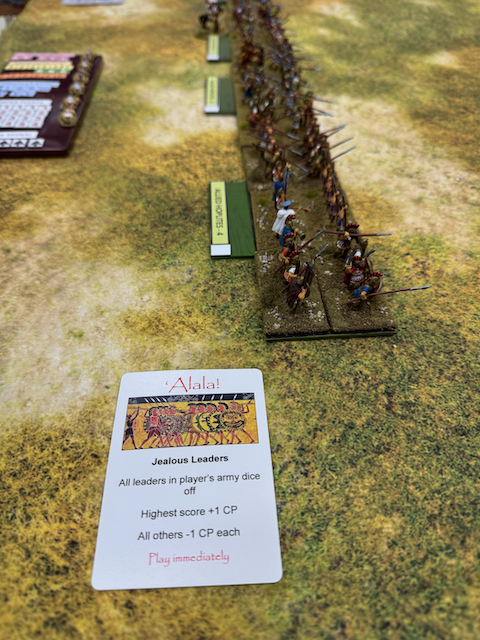 |
| Gareth drew a card that had the effect of increasing the command points of his Theban general from three to four, while decreasing that of the allied general from four to three! |
As the enemy used more and more of their command points to pick up god cards while I was raising the readiness of the phalanx with the Spartans, I decided that I would have an advantage if I began to move - it would allow me to raise the readiness of a C class unit with only two command points instead of the three needed when stationary, and would give me a better chance of getting in the first charge. So, I ordered a general advance by both phalanxes.
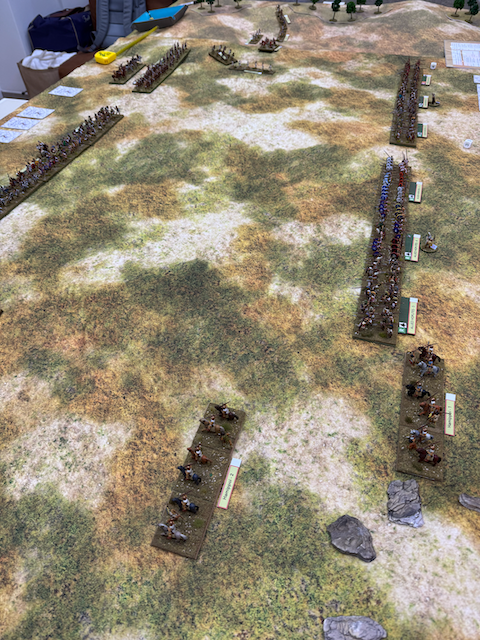 |
| In perfect alignment, both section of my phalanx begin to move slowly forwards. The hamippoi on their flank in the foreground again fail to move. The Thessalians have started to move behind the Theban phalanx at the top left to cover their flank as my skirmishers start to wheel round while trading missiles with their counter-parts. |
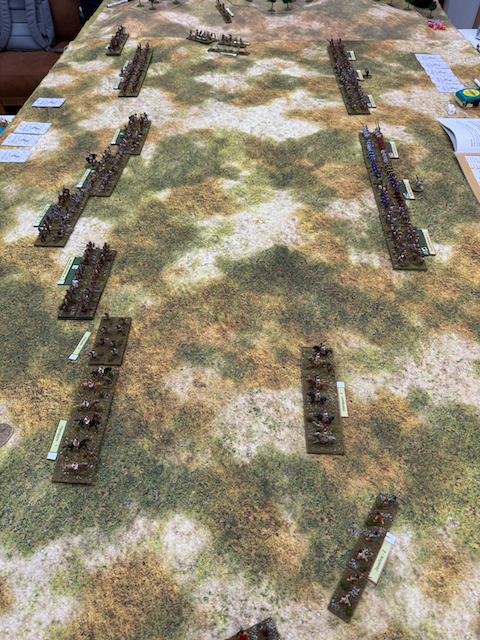 |
| The Theban allied general fails to control his phalanx. Each unit takes a control test, three of them failing and moving forwards at different rates. |
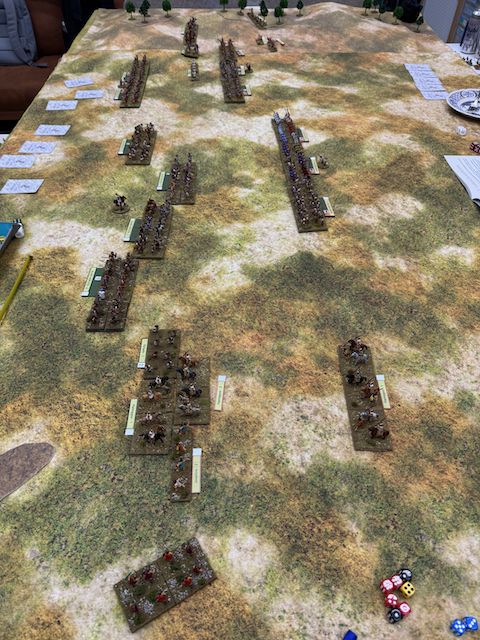 |
| At the top of the picture my Spartan led phalanx has picked up the pace. It has been moving out to its right to try to reduce the room that the Thessalian cavalry might have to get around the flank as they begins to sweep up my light troops. The Theban hoplites are still not moving but their commander is now raising their readiness rather than drawing more god cards. The staggered advance of the Theban allied hoplites continues and skirmishers finally get to grips in the foreground. |
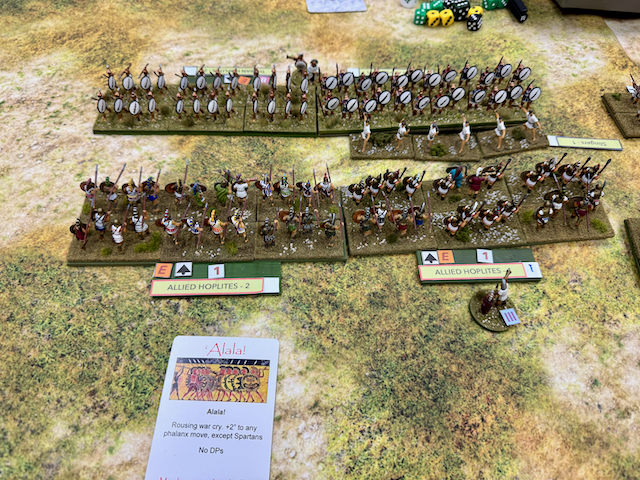 |
| To make sure I get the charge advantage against the Thebans I play the Alala! card to get my allies close enough to declare a charge in their move. This has the effect of leaving the Spartans behind, not giving support from the flank. Was this a good move? |
No! One of the allied units managed a draw, the other was driven back with loss.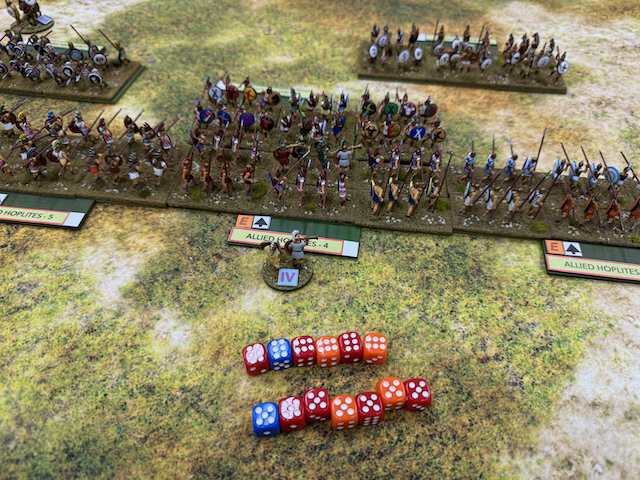 |
| Things went better on the other side where my centre unit was able to hit an isolated enemy while itself having support on both flanks. This perfect attack was made more perfect by the dice rolls, racking up 13 hits while the opposition only managed a handful, giving a decisive victory. Unfortunately, the general attached to the victorious unit then rolled a double one and fell dead at the moment of triumph! |
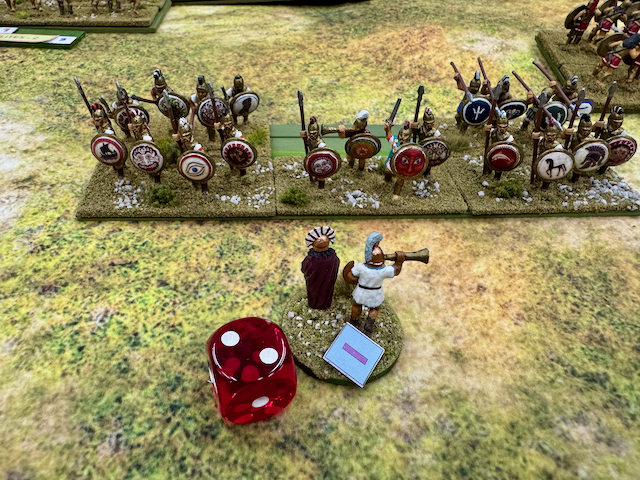 |
| In the next turn, the allied hoplites who had drawn their first fight with the Thebans lost and retired. The general attached to them failed to get himself killed but did take a serious wound that reduced his command points from 3 to 1. |
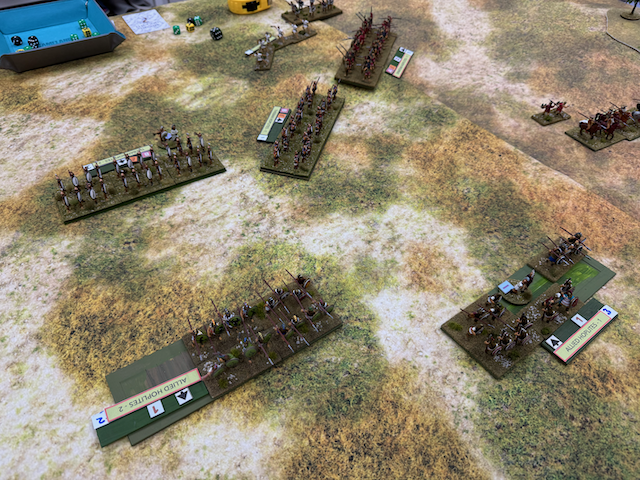 |
| This left my right wing with two units in retreat while the Spartans tried to wheel round to do something constructive but only picking up disorder points and getting pelted with javelins by the surviving Theban skirmishers. One of the Theban units started to wheel towards the Spartans before realising that they were never going to come into contact given their respective positions. |
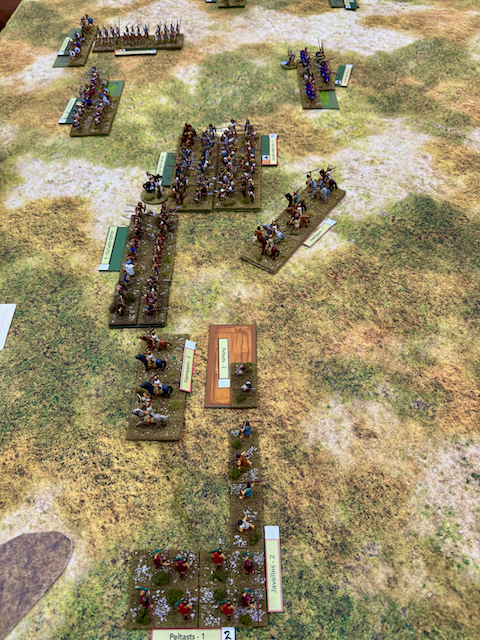 |
| Things were better for me on the other flank where I had ridden down the last of his skirmishers and could now get behind his hoplites with cavalry and light infantry. I had also been able to reform the unit that had pursued an earlier victory while the enemy had two shaken units that could not reform. However, the Theban allies had now lined up two hoplite units against one of mine so were not without hope, and with two generals with plenty of command points left in hand, as well as several unplayed god cards they had a much better prospect of recovery. |
With the clock having passed 10 pm we decided not to press on and I conceded the field to Gareth.
At a little while after 10 am the next morning I opened the door to George, my opponent for the next game. This time I drew the Thebans and we both rolled very well for generals, with George getting a 4 and a 5 which I then matched. I didn't get a picture of the full initial deployment, only the centre section with the opposing hoplite phalanxes.
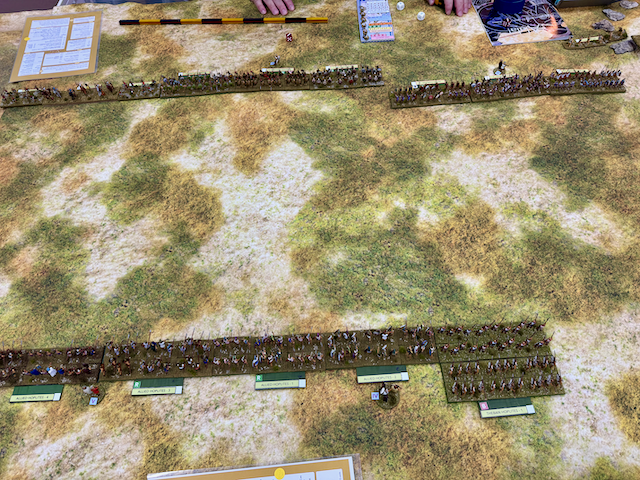 |
| George's Spartans and allies are at the top. Three allied hoplite units are on the right, slightly in advance of the other phalanx which has the Spartan unit in the middle. Some light troops can be seen to the left of the Spartan line. Most of my light troops are out of frame on the left, with only two units - hamippoi and peltasts - far out to the right. My Thebans are in a single deep unit on my right, with two allied hoplite units grouped with them, leaving two under the command of the general on the left. |
George immediately signalled his intent by ordering an advance all along his line. I held my men in check, raising readiness for a couple of C class units.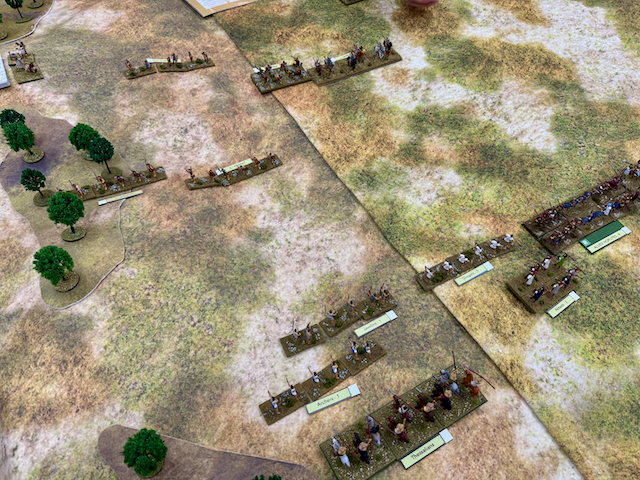 |
| Spartan light troops and hamippoi surge forward on my left while my own lights, backed by Thessalian cavalry, keep their slingshots dry. |
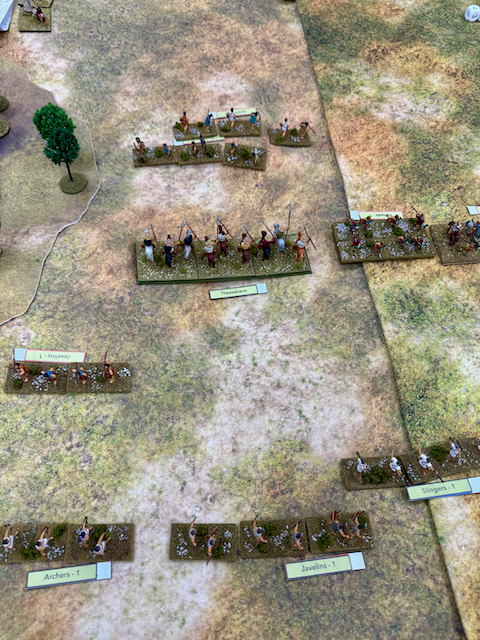 |
| Over the next couple of turns the Spartan light troops continued to race forwards while I moved slowly, but crucially moving the Thessalians so that they could get a good charge in once the enemy was close enough. This forced two of the enemy units to evade, leaving a single javelin unit out on the left which I could concentrate my lights against. |
 |
| On the other flank, my hamippoi had a perfect opportunity after the enemy advanced and failed to hit to get two shots back - 14 d6 rolls in all. Not a single hit by my men either! |
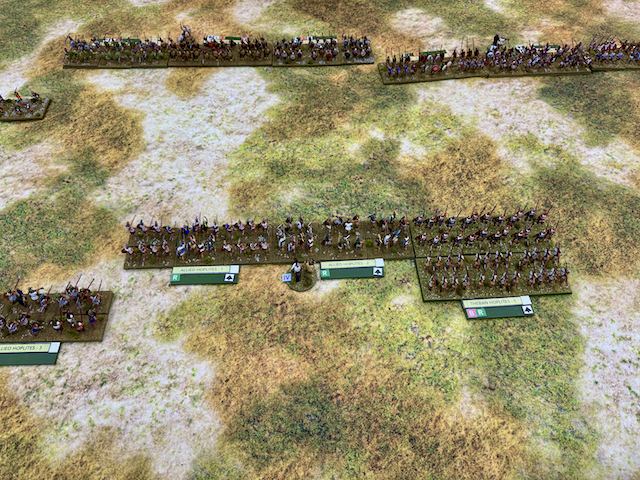 |
| With the enemy hoplite line marching steadily forwards, I decided the time had come to start moving myself so that I could raise readiness levels of my raw troops more quickly and not risk the enemy getting an unopposed charge. |
 |
| As the lines neared, the huge overhang of the Spartan allies on my right became apparent, while at the other end, my line would outflank him. My Theban mass was going to hit the centre of his line. |
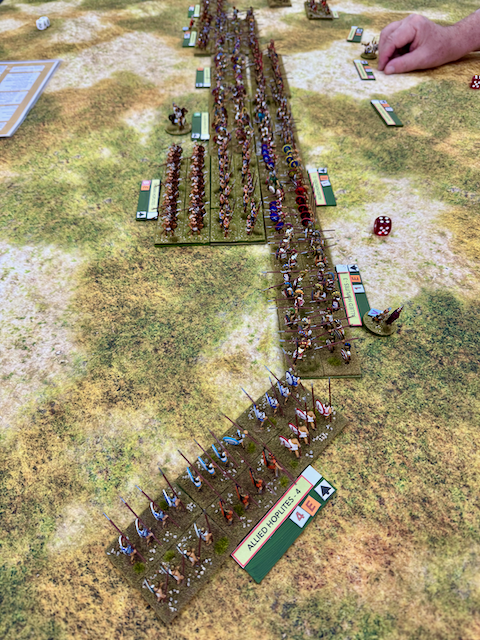 |
| As the lines met, the Spartans started to wheel the extended end of their line round but they were a long way from the fight and were racking up lots of disorder by this manoeuvre (only A class troops can wheel easily with little disorder). As they were doing this, my massed Theban unit overwhelmed their immediate opponents, despite the flank support that it had. |
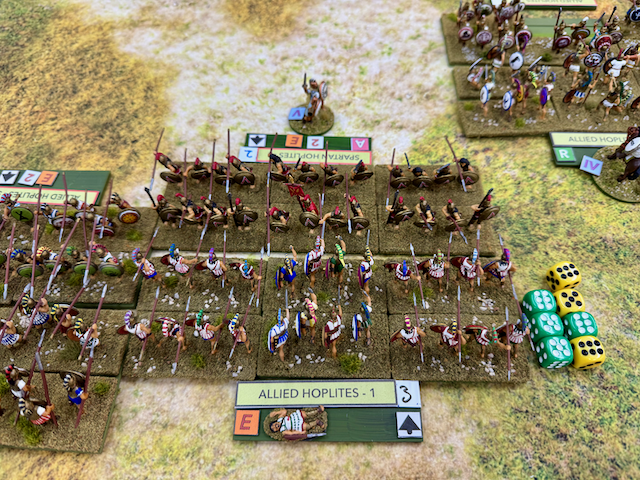 |
| Spartan hoplites went head to head with Theban allies who drew the first melee then won the second exchange by 7 to 4, forcing the Spartans to retire! |
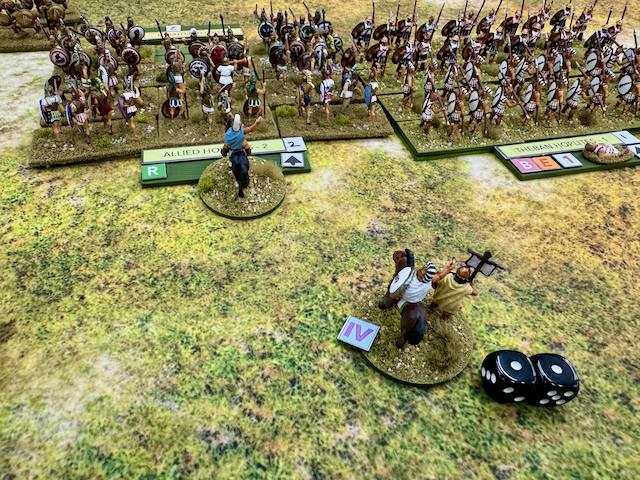 |
| Yet again in a moment of victory, my commander rolled a double one and was discharged dead! |
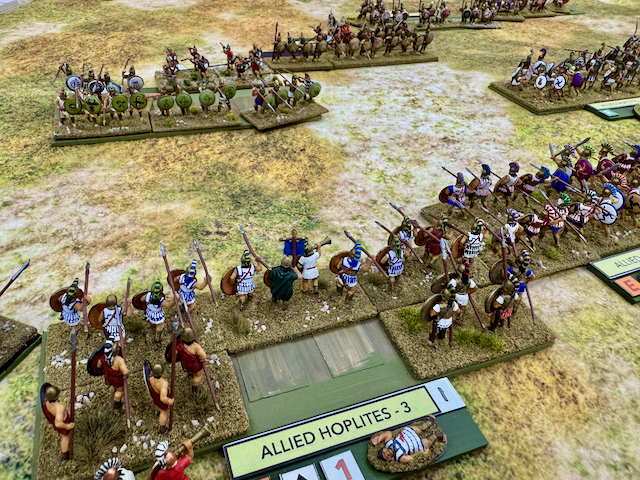 |
| Another Spartan allied unit is forced to retire, after having dealt a fair amount of damage to its opponent. |
.png) |
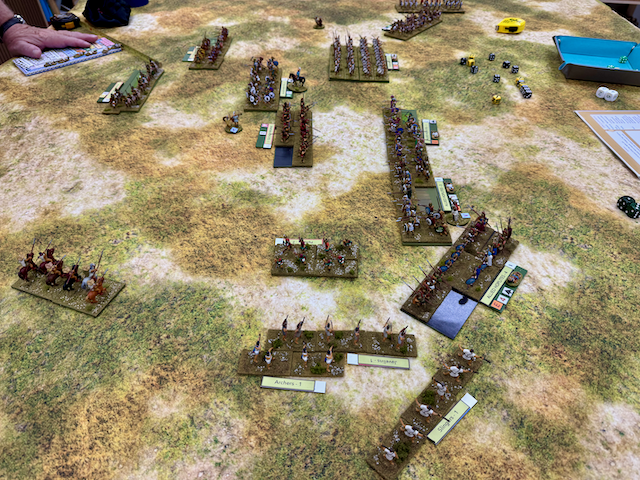
| Spartan peltasts have remarkably managed to knock an entire base of men off the end of my hoplite line, but the rest of the Spartan light troops have been driven off and my Thessalian cavalry now threaten the rear of the Spartan lines which are badly disordered. The two unengaged hoplite units at the far end of the table are not going to be able to manoeuvre quickly enough to do anything useful. The Spartans decide that the time has come to leave the field. |
So, one marginal and one substantial victory for the Thebans. In both games there was much more interesting action with light troops than in earlier games I have played but once again the decision resting with the clash of the hoplites. My move out to the right with the Spartans in the first game cost me any chance of victory as my best troops never got into the fight. I had thought that Gareth's constant hunt for god cards would cost him dearly but in the end the good cards he drew did tip a couple of key clashes his way. The second game took less time to get the hoplites to engage and all were at the highest level of eagerness to fight when they did so. The initial win with the massive Theban unit was not unexpected but the defeat of the Spartan unit was a moment to thrill the heart. Best Chian wine tonight for everyone and double for the plucky unit that did the Spartans in, while tribute will be paid to our much lamented commander!


.png)
Looks like a couple of great games!
ReplyDeleteIndeed. Thank you for a very enjoyable set of rules that are great for the purpose of a good game with friends.
Delete